I’ve been getting lash extensions done by a lash tech for many years. It took lots of time and a big part of my budget. As soon as I came across DIY cluster lashes from Nanolash, I was dying to test them!

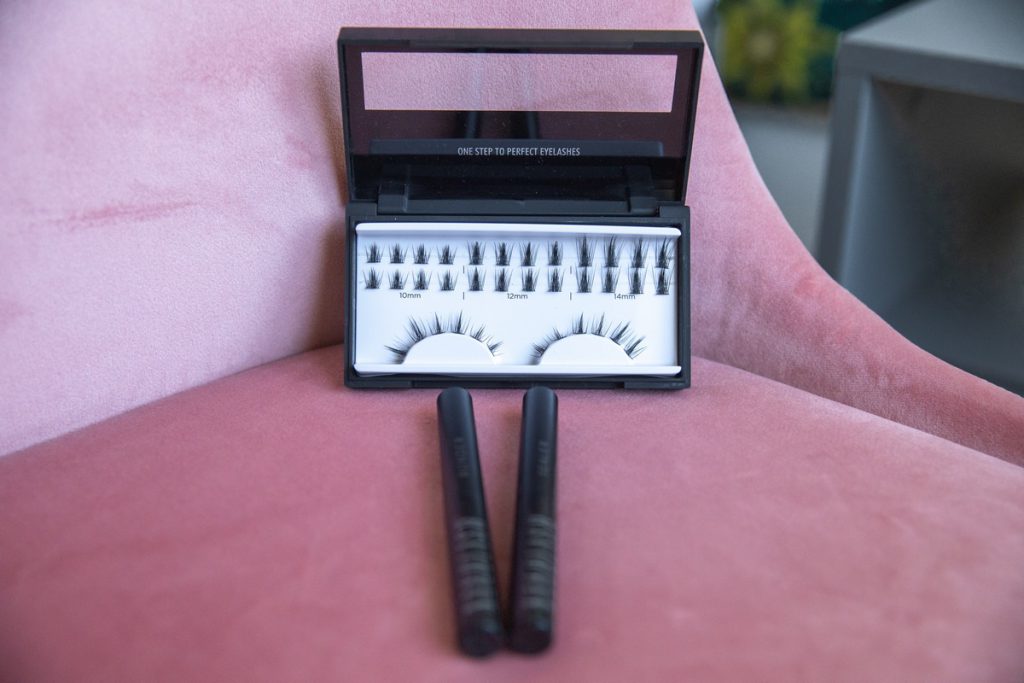
I always got volume lashes done because I’m big on a defined, dramatic lash look. The DIY Eyelash Extensions – cluster lashes by Nanolash – are available in 8 styles, and each case includes lashes in 3 sizes: 10 mm, 12 mm, 14 mm. Can we really create the Russian Volume lash look at home? Sounds great!
DIY Lash Extensions. Impressions after Unboxing
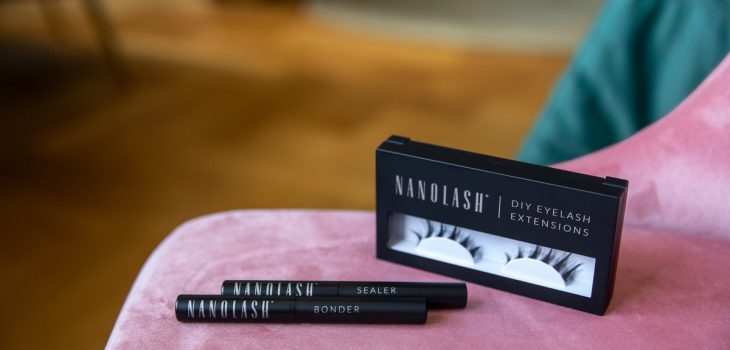
The DIY Lash Extensions are available in a single packaging (I got it) as well as in a full cluster lashes kit which also contains:
- Nanolash sealer
- Nanolash bonder
- Nanolash remover
- applicator/stainless steel eyelash tweezers
As I mentioned, I only bought the lash clusters for application at home. They came in a lovely box, safely packaged. After unboxing I spotted that:
- the cluster lashes are soft and flexible; I love it that they don’t create the unnatural lash look.
- the DIY Lash Extensions have a thin, black band which blends with a natural lash line.
- Nanolash released cruelty-free lashes that look super realistic.
Summing up, first impressions after unboxing were nothing but positive!

DIY application of cluster lashes Nanolash. What does the process involve?
The product makers promise that cluster lashes application takes 10 minutes tops. If it’s true, then the DIY Lash Extensions are just perfect!
I began the process by removing makeup, and then:
- I applied a super-thin layer of the bonder all over the lashes and waited until it became tacky (around 30-60 seconds).
- I grabbed a lash cluster and placed it underneath natural lashes, around 1 mm away from the lash line.
- I gently pressed the cluster and applied the sealer.
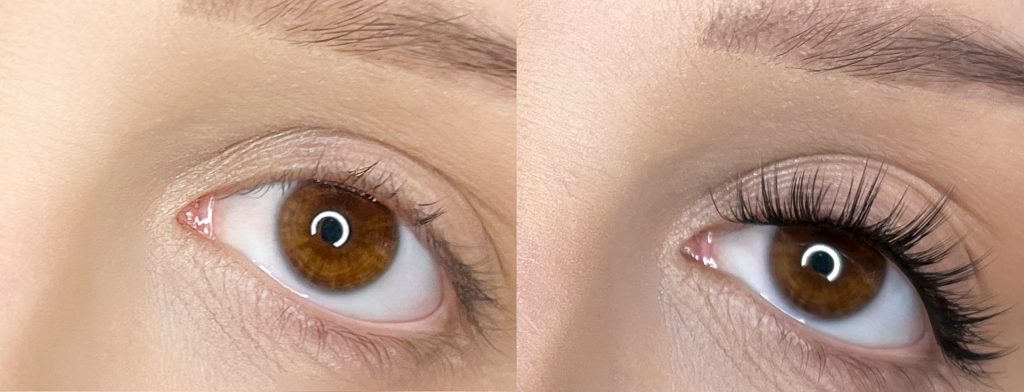
I used 4 lash clusters for one application, and the treatment really took me less than 10 minutes. Naturally, you can use even 5 bundles if you’re after the Hollywood Volume lashes!

Can we wear DIY Lash Extensions for 5 days as promised?
Let’s go back to the brand’s declarations for a moment. The DIY Lash Extensions are said to last for 5 days from application. I took a risk and applied my cluster lashes right before 7-day holidays.
Surprisingly, the DIY lash wisps were in the same place after I came back! They didn’t fall out and had the same beautiful curl. However, I need to mention the aftercare instructions I followed. For example:
- I slept on my back; I didn’t want to risk my cluster lashes getting damaged from rubbing against the pillow.
- I avoided oil-based cosmetics; oils may have a bad effect on lash glue.
- I regularly brushed through the lashes to clear them of dust and other dirt.
I believe that the proper lash extension aftercare made my cluster lashes last longer.
One more thing. The manufacturer claims these are one-off DIY lash extensions, however, after taking them off, I could apply the same lash clusters again.
I just had to remove the glue residue using the Nanolash remover. Estimating the condition of the wisps, I figured they kept the same shape and were reusable.
Nanolash cluster lashes make at-home lash extension achievable for everyone
Thanks to the DIY Lash Extensions, getting longer lashes is easily accessible at home. The cluster lashes are easy to apply, plus they offer a wide range of lash styles. I could create a delicate wispy lash look using 10 mm lashes, and then try volume lashes putting on 12 and 14 mm lash clusters some other day.
The DIY Lash Extensions turn out to be reusable DIY cluster lashes so they last much longer than the brand says. I really like Nanolash cluster lash extensions!

Leave a Reply